SD Cards for Laptops
Transferring files to and from an SD card is a common task for laptop users. Whether you need to back up important documents, transfer media files, or simply free up space on your laptop’s internal storage, knowing how to effectively transfer files to and from an SD card can be incredibly useful.
To get started, you’ll need an SD card reader. Most laptops come equipped with built-in SD card readers, but if yours doesn’t have one, you can easily purchase an external USB card reader. Once you have the necessary hardware, it’s as simple as inserting the SD card into the reader and connecting it to your laptop.
Preparing Your Laptop for SD Card Insertion
Before you can transfer files to and from an SD card on your laptop, it’s important to ensure that your laptop is properly prepared. Here are a few steps to take before inserting the SD card:
- Check compatibility: Confirm that your laptop has an SD card slot. Most laptops have this feature, but it’s always good to double-check.
- Power off your laptop: Before inserting or removing the SD card, make sure your laptop is turned off. This ensures safe handling and prevents any potential data loss or damage.
- Remove any existing cards: If there is already an SD card inserted in your laptop, safely eject it by right-clicking on the drive icon in the file manager and selecting “Eject.” Wait until you see a notification confirming that it’s safe to remove the card.
Locating the SD Card Slot on Your Laptop
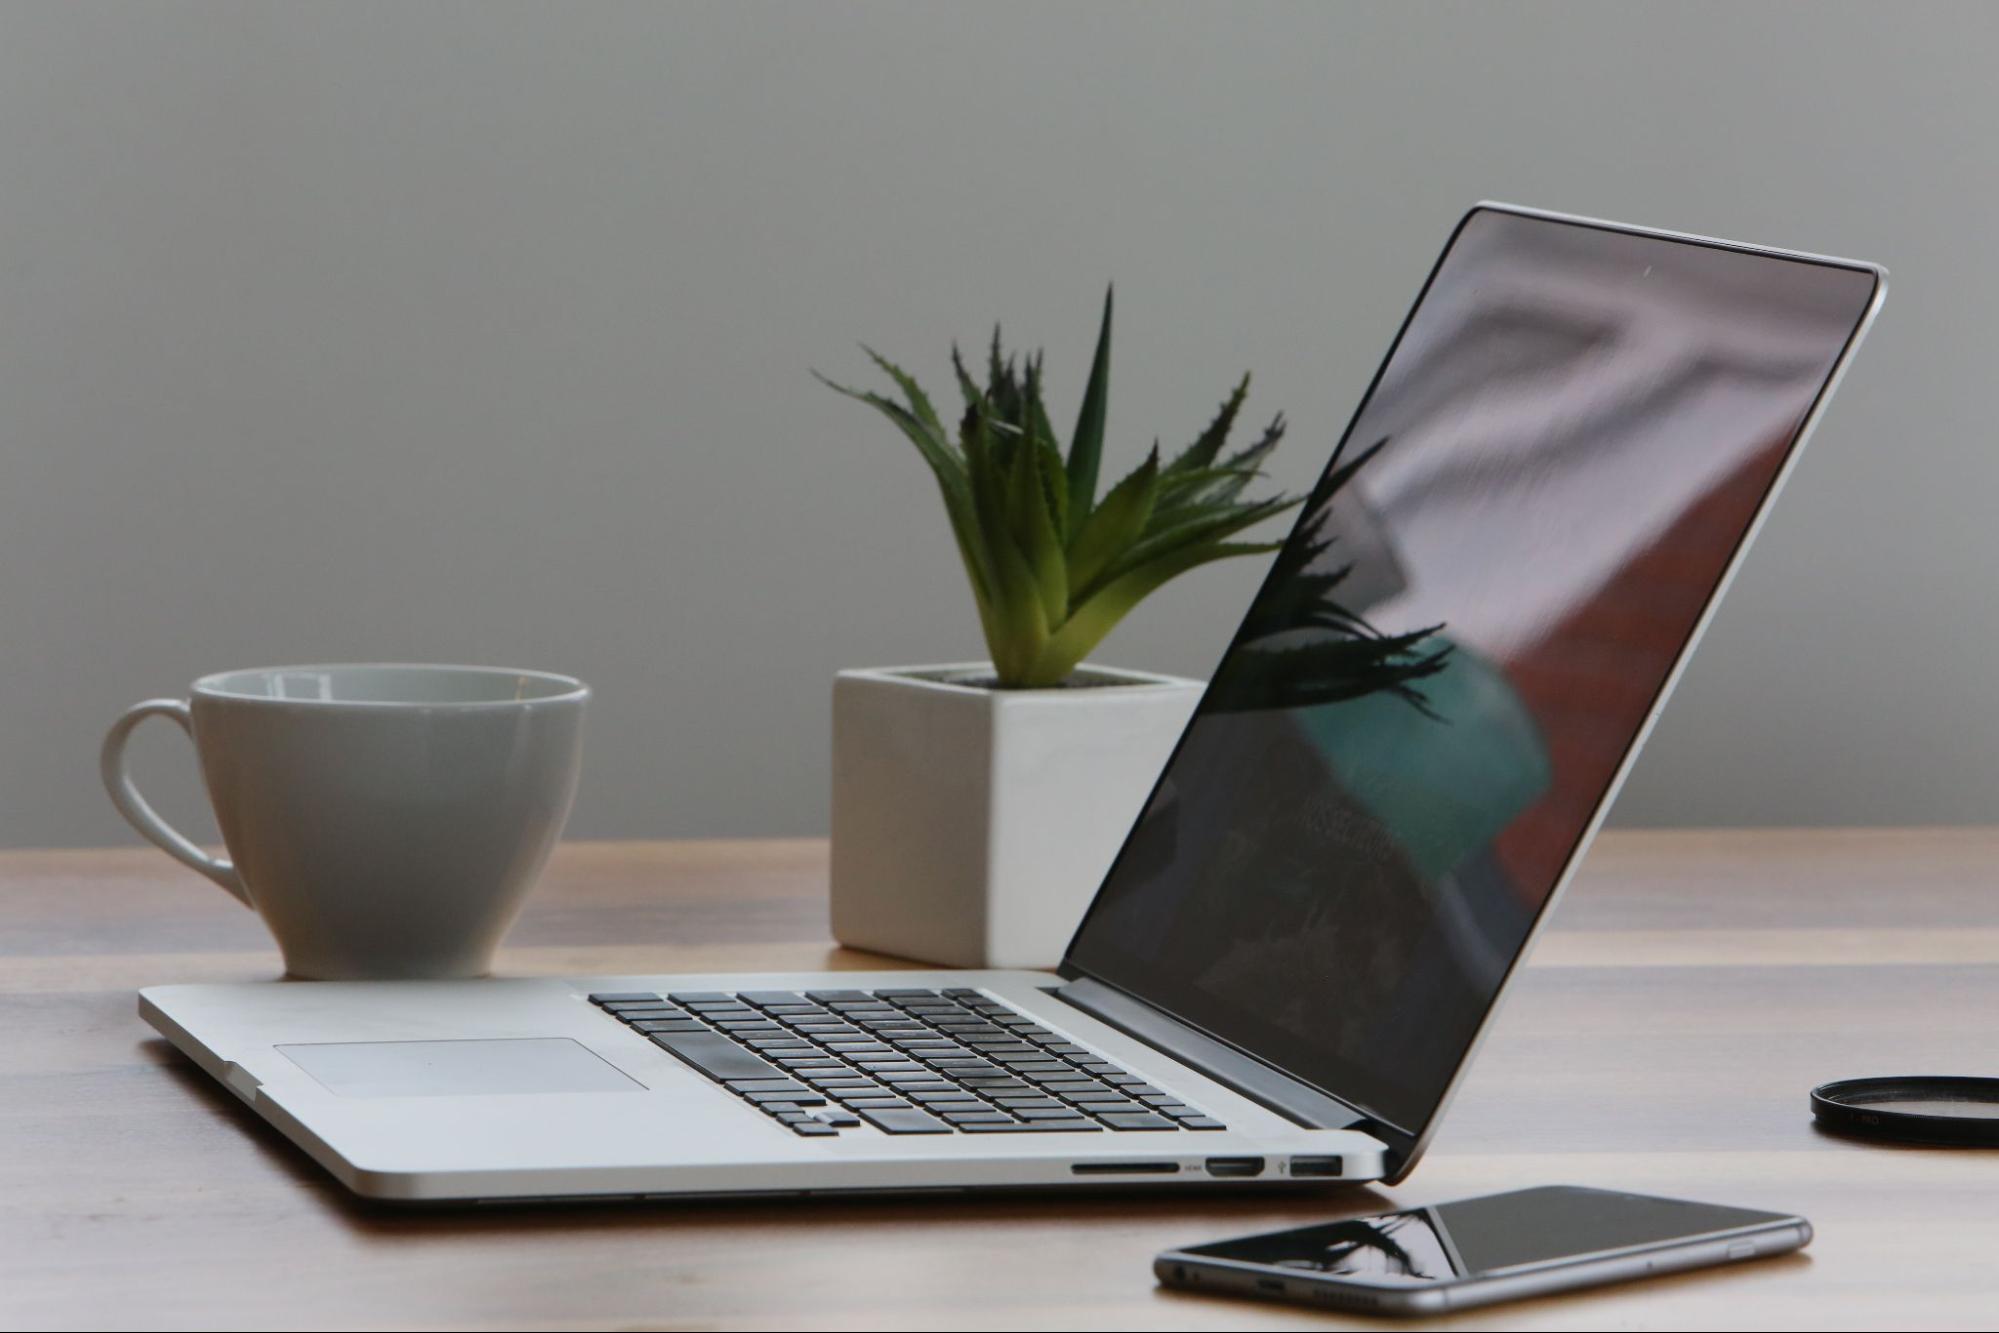
Now that you’ve prepared your laptop for insertion, it’s time to locate the SD card slot. The location of this slot may vary depending on the brand and model of your laptop, but here are a few common places where you can typically find it:
- Side panel: Some laptops have their SD card slots conveniently located on one of the side panels. Look for a small rectangular opening with a tiny symbol indicating an SD card.
- Front edge: In certain laptops, especially older models, you might find the SD card slot positioned along the front edge near other ports like USBs and headphone jacks.
- Back panel: A few laptops have their SD card slots hidden behind a small cover on the back panel of the device. Check if there’s a removable cover labeled with an “SD” logo or symbol.
Remember to refer to your laptop’s user manual for precise instructions if you’re having trouble locating the SD card slot.

Properly Inserting the SD Card into Your Laptop
Once you’ve found the SD card slot, it’s time to insert the card correctly. Follow these steps to ensure a proper insertion:
- Hold the SD card: Gently grasp the edges of the SD card with your thumb and index finger, making sure not to touch any metal contacts or sensitive components on its surface.
- Align and insert: Orient the SD card with its label facing up and its contact pins facing down. Align it with the groove inside the slot and carefully push it in until you feel a slight resistance.
- Secure firmly: Once inserted, press down gently without applying excessive force until you hear a click or notice that the card is securely in place.
By following these simple steps, you’ll be able to insert an SD card into your laptop smoothly and efficiently, enabling easy file transfers between your laptop and external storage. Transferring files from an SD card to a laptop is a simple process that allows you to easily access and manage your data. Whether you want to transfer photos, videos, documents, or other files, here’s a step-by-step guide on how to do it:
- Insert the SD card into your laptop’s SD card slot: Most laptops come equipped with an SD card slot located either on the side or front of the device. Locate the slot and gently insert the SD card until it clicks into place.
- Open File Explorer (Windows) or Finder (Mac): To access the contents of your SD card, open File Explorer on Windows or Finder on Mac. You can usually find these applications in your taskbar or dock.
- Locate and select the SD card: In File Explorer or Finder, you’ll see a list of drives and devices connected to your laptop. Look for your SD card, which is typically labeled as “SD Card” or by its brand name. Click on it to open its contents.
- Select and copy the files you want to transfer: Once inside your SD card’s folder, browse through its contents and locate the files you wish to transfer. You can select multiple files by holding down the Ctrl key (Windows) or Command key (Mac) while clicking on each file.
- Paste the files onto your laptop’s storage: After selecting the desired files, right-click anywhere within their selection and choose “Copy” from the context menu that appears. Then navigate to where you want to store these transferred files on your laptop and right-click again, this time choosing “Paste.”
- Wait for the transfer process to complete: The time it takes for file transfers depends on various factors such as file size and speed of both devices involved in the transfer process. Be patient while waiting for all selected files to successfully copy onto your laptop’s storage.


